The Most Popular Window Tint Levels for Cars in San Dimas Drivers
San Dimas drivers want three things at the same time a cooler cabin, more privacy, and less glare, but the tint percentage you pick affects night visibility and California legality, especially on the front side windows. California’s front side window rule is commonly summarized as 70% VLT minimum, and windshield tint is generally limited to the top strip (top 4 inches or above the AS-1 line).
This guide breaks down the most popular window tint levels for cars in San Dimas, 5%, 15%, 20%, 35%, and 50%, so you can choose a shade that fits your daily driving, your privacy goals, and your comfort in the SoCal sun.
- Best all-around daily tint level: 35% (balanced look + visibility)
- Most popular for a privacy-forward look (usually rear windows): 20% or 15%
- Maximum privacy: 5% (typically a rear-window choice)
- Best for frequent night driving: 50% (subtle, easier visibility)
- Best for heat rejection without going super dark: choose a high-performance film (like a ceramic / nano-ceramic option) and keep a practical tint level.
1. Why Window Tint Levels Matter in San Dimas
San Dimas driving is classic Southern California, bright sun, warm days, stop-and-go traffic, and plenty of time sitting at lights or creeping along surface streets. That’s why choosing the right window tint levels for cars isn’t just about looks here; it’s a practical comfort upgrade you feel every single day. The right tint helps you control heat immediately by reducing how intense the sun feels through your side glass, making your cabin feel less like an oven, especially if your vehicle is parked outside. It also cuts down harsh glare, which is a big deal when the late-afternoon sun hits your windshield and side windows during a commute. Beyond comfort, tint supports long-term interior protection by reducing UV exposure, helping slow down fading, cracking, and wear on seats, dashboards, and trim.
Many San Dimas drivers also prioritize privacy and security, since darker tint makes it harder for people to see inside your cabin, useful if you keep bags, tools, or kid gear in the back. And of course, there’s the clean, finished look: window tint can completely change your vehicle’s profile, which is why many drivers start by picking the shade they love aesthetically and then adjust based on visibility and daily driving needs.
2. What “Tint Percentage” Actually Means (VLT Made Simple)
Tint percentage can be confusing because the number isn’t “how dark the film is”, it’s how much visible light passes through the glass after tint is installed.
- VLT = Visible Light Transmission
- Higher % = more light passes through = lighter tint
- Lower % = less light passes through = darker tint
So:
- 5% means only 5% of visible light gets through (very dark)
- 50% means half the visible light still gets through (light tint)
One extra detail most drivers don’t realize: your car’s glass may already have some factory shading. When you add film, the final measured VLT is a combination of
glass + film, which is why two cars with “the same tint” can look different.
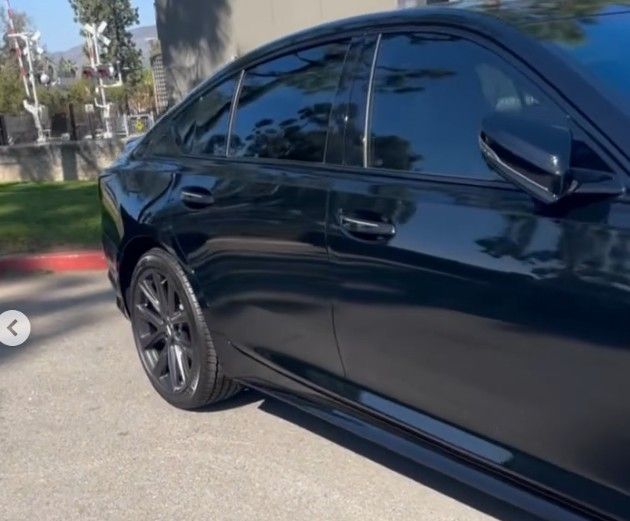
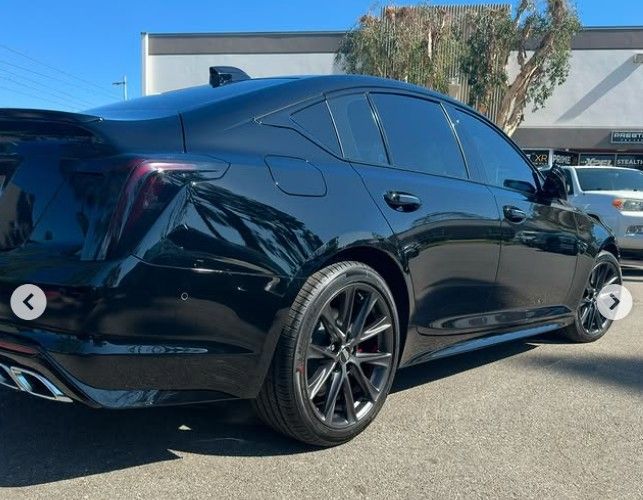
3. The Most Popular Window Tint Levels for Cars in San Dimas (5%, 15%, 20%, 35%, 50%)
1. 5% Tint (Limo Tint)
Best for: maximum privacy, especially rear windows
What it looks like: very dark, “blacked-out” appearance
Why San Dimas drivers choose 5%
- You want serious privacy
- You keep valuables in the rear cabin
- You love the aggressive, high-contrast look on SUVs and trucks
Benefits
- Maximum privacy during the day
- Strong glare reduction in bright sun
- Looks bold and premium when installed cleanly
Tradeoffs (be real about this)
- Night visibility can feel tight, especially on side streets or when backing up
- Passengers may feel it’s darker than expected
- It can make your cabin feel “closed in” if you’re used to a bright interior
Best use case
In practice, many drivers treat 5% as a rear-window-only choice and keep the front lighter for safety and day-to-day comfort.
2. 15% Tint (Deep Privacy Without Full Blackout)
Best for: privacy-forward look with slightly better usability than 5%
What it looks like: very dark, but not total blackout
Why 15% is popular
15% is often chosen by drivers who want:
- noticeable privacy
- a strong “tinted” look
- a shade that still feels usable compared to 5%
Benefits
- High privacy during the day
- Strong aesthetics on sedans, coupes, and SUVs
- Great for reducing harsh sun angles
Tradeoffs
- Night driving visibility still takes a hit (especially in unlit areas)
- If you’re sensitive to “too dark,” you may prefer 20% or 35%
Best use case
A classic setup is 15% on rear windows for privacy, combined with a lighter front option to protect visibility and stay closer to front-window constraints.
3. 20% Tint (The “Popular Middle” for Looks + Privacy)
Best for: that “clean tinted look” most people picture
What it looks like: clearly tinted, privacy-forward, but not extreme
Why San Dimas drivers love 20%
20% hits a sweet spot where:
- Your car looks obviously tinted
- Privacy is meaningful in daylight
- It still feels more livable than 15% for many drivers
Benefits
- Strong look without going full limo
- Good privacy for daily life (parking lots, errands, restaurants)
- Better balance than 15% for many night drivers
Tradeoffs
- Still may feel dark at night depending on your eyesight, vehicle, and lighting
- If you do a lot of nighttime reversing, you might prefer 35% on sides
Best use case
20% is extremely popular for rear windows, especially for SUVs and family vehicles. Pairing 20% with a high-performance film can give you that comfort boost without needing to go darker than necessary.
4. 35% Tint (The Balanced Favorite)
Best for: daily driving in San Dimas, comfort + style + visibility
What it looks like: “noticeably tinted” but not overly dark
Why 35% is the most “safe bet”
If you’re unsure, 35% is usually where drivers land when they want:
- A tint that looks great from the outside
- Less glare and a cooler feel
- Better night visibility than 20% and darker options
Benefits
- Great balance of aesthetics and function
- Feels comfortable for mixed day/night driving
- Looks clean on almost any color vehicle
Tradeoffs
- If your top priority is maximum privacy, 35% may feel “not dark enough” in bright daylight
- Some drivers want darker rear windows for security
Best use case
Many people choose:
- 35% on front side windows (visibility-friendly)
- 20% or 15% on rear windows (privacy-friendly)
This gives you a premium look without making your daily driving harder.
5. 50% Tint (Light Tint, Big Comfort Upgrade)
Best for: frequent night driving, subtle look, visibility-first drivers
What it looks like: lightly tinted, often “factory-plus”
Why 50% is more popular than people think
Some drivers don’t want their car to look “blacked out.” They just want:
- less glare
- a cooler interior
- UV protection
- a cleaner look
50% delivers that without dramatically changing nighttime visibility.
Benefits
- Very comfortable at night
- Subtle style upgrade
- Great option when your main goal is comfort, not privacy
Tradeoffs
- Minimal privacy (especially during the day)
- If you want the strong tinted aesthetic, you’ll likely prefer 35% or 20%
Best use case
50% is common for drivers who:
- wear glasses at night
- drive in dim areas often
- want performance film benefits without the “dark tint” look
4. How to Choose the Right Window Tint Level (Step-by-Step)
If you want a tint level you’ll love long-term, don’t start with “what looks cool.” Start with the way you actually drive.
Step 1: Pick your #1 goal
Choose the main reason you’re tinting:
- Heat rejection / comfort
- Privacy / security
- Glare reduction
- Night visibility
- Appearance
- Staying close to California front-window rules
This matters because “privacy-first” typically pulls you toward 15–20% (or darker in the rear), while “visibility-first” pulls you toward 35–50%.
Step 2: Be honest about your night driving
Night driving is where people regret going too dark.
Ask yourself:
- Do you regularly drive after 7–8pm?
- Do you reverse into dim driveways or park in poorly lit areas?
- Do you rely on side mirrors heavily?
If yes, you’ll likely be happier with 35% or 50%, or a mixed setup (lighter up front, darker rear).
Step 3: Decide your “front vs rear” plan
This is the most common “San Dimas driver” approach because it balances style, comfort, and practicality:
- Front windows: lighter tint for clarity and comfort
- Rear windows: darker tint for privacy and the finished look
It also helps you stay more aligned with California’s stricter front-side window standards.
Step 4: Choose performance (film type), not just darkness
This is huge:
Dark tint ≠ maximum heat rejection.
Higher-end films can significantly improve heat and UV performance without needing to go extremely dark. That’s why many drivers who want comfort choose premium ceramic or nano-ceramic options.
Step 5: Confirm the legal basics and install quality
California rules are commonly summarized like this:
- Front side windows: at least 70% VLT
- Windshield: tint allowed on the top portion only (often described as top 4 inches or above the AS-1 line)
- Rear window: if tinted, vehicles generally need dual side mirrors for rear visibility
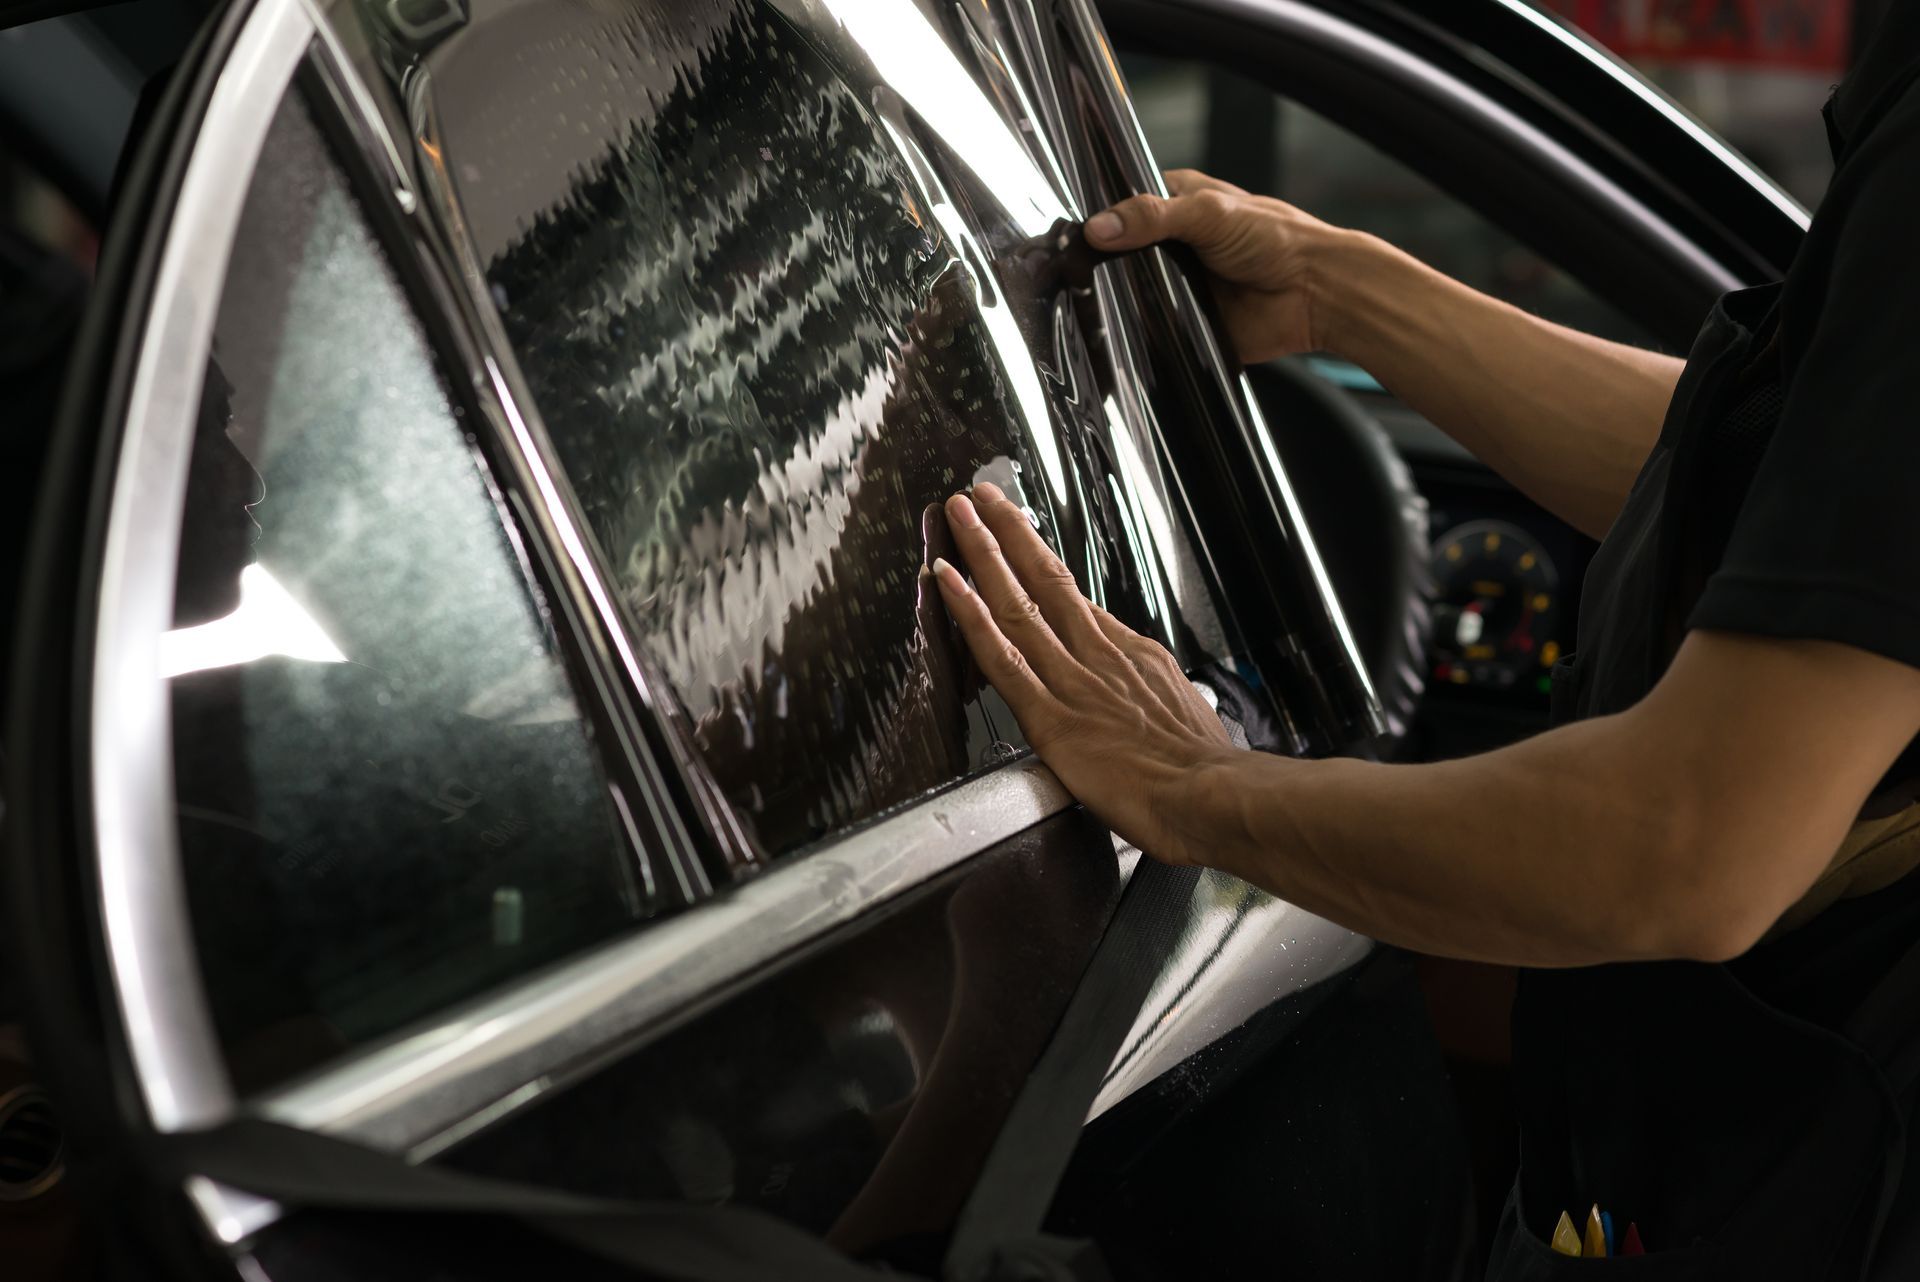
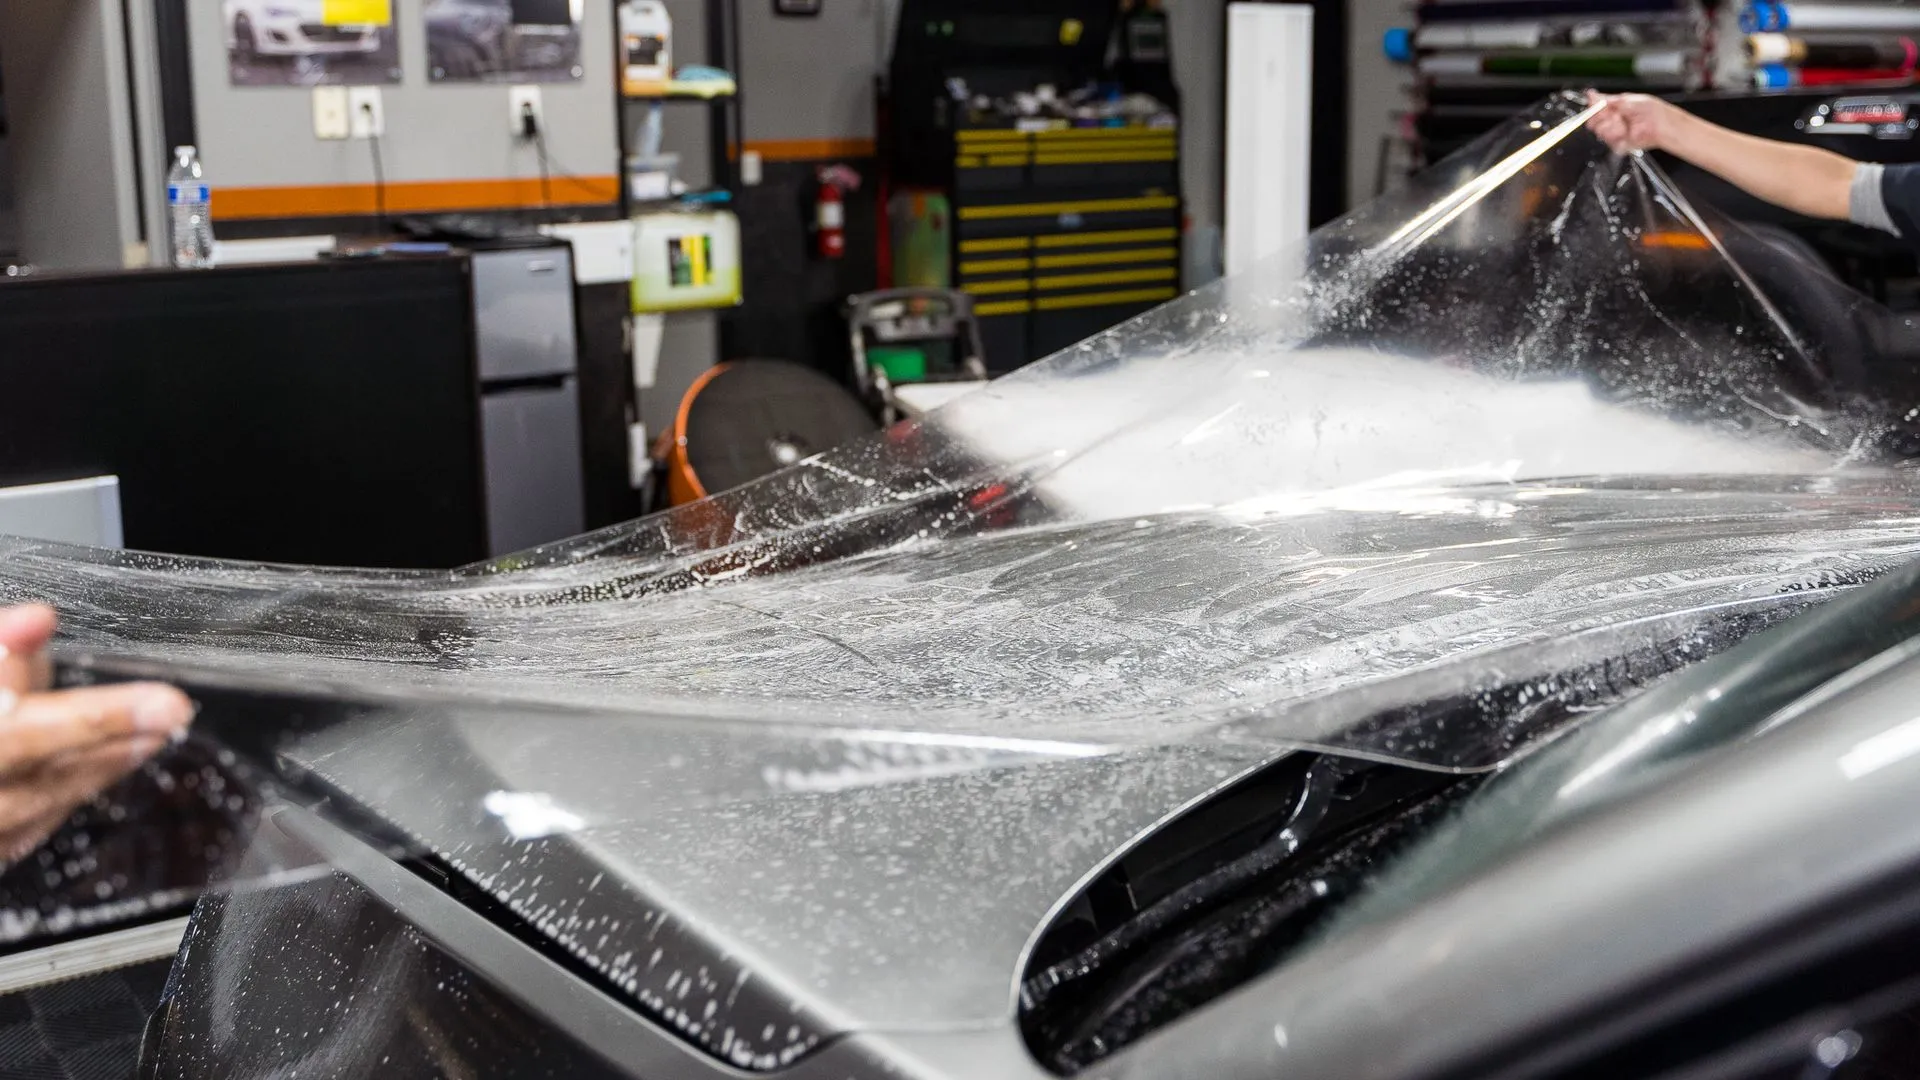
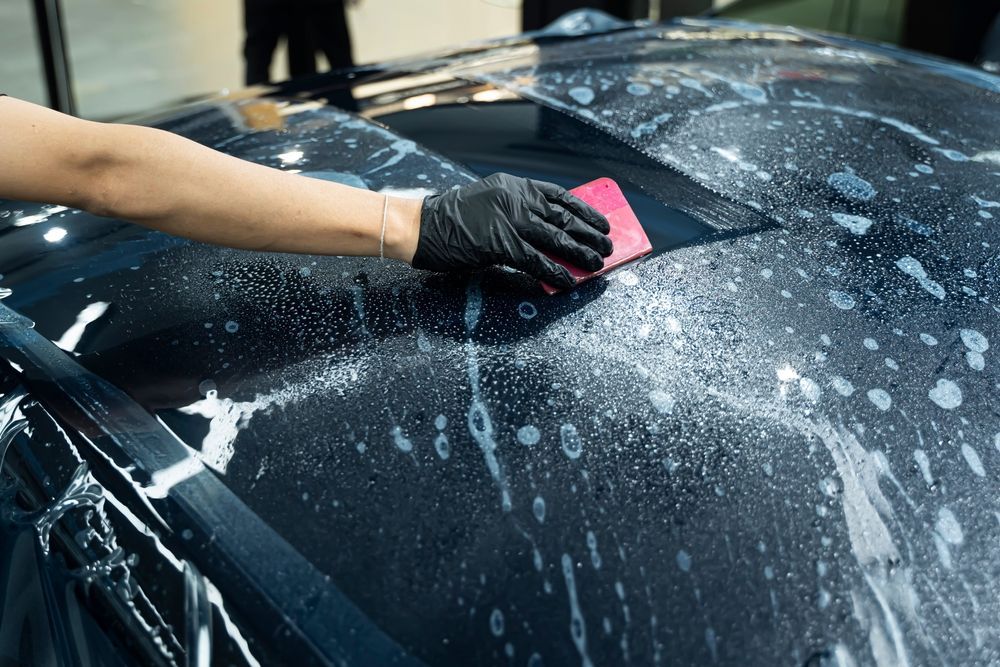
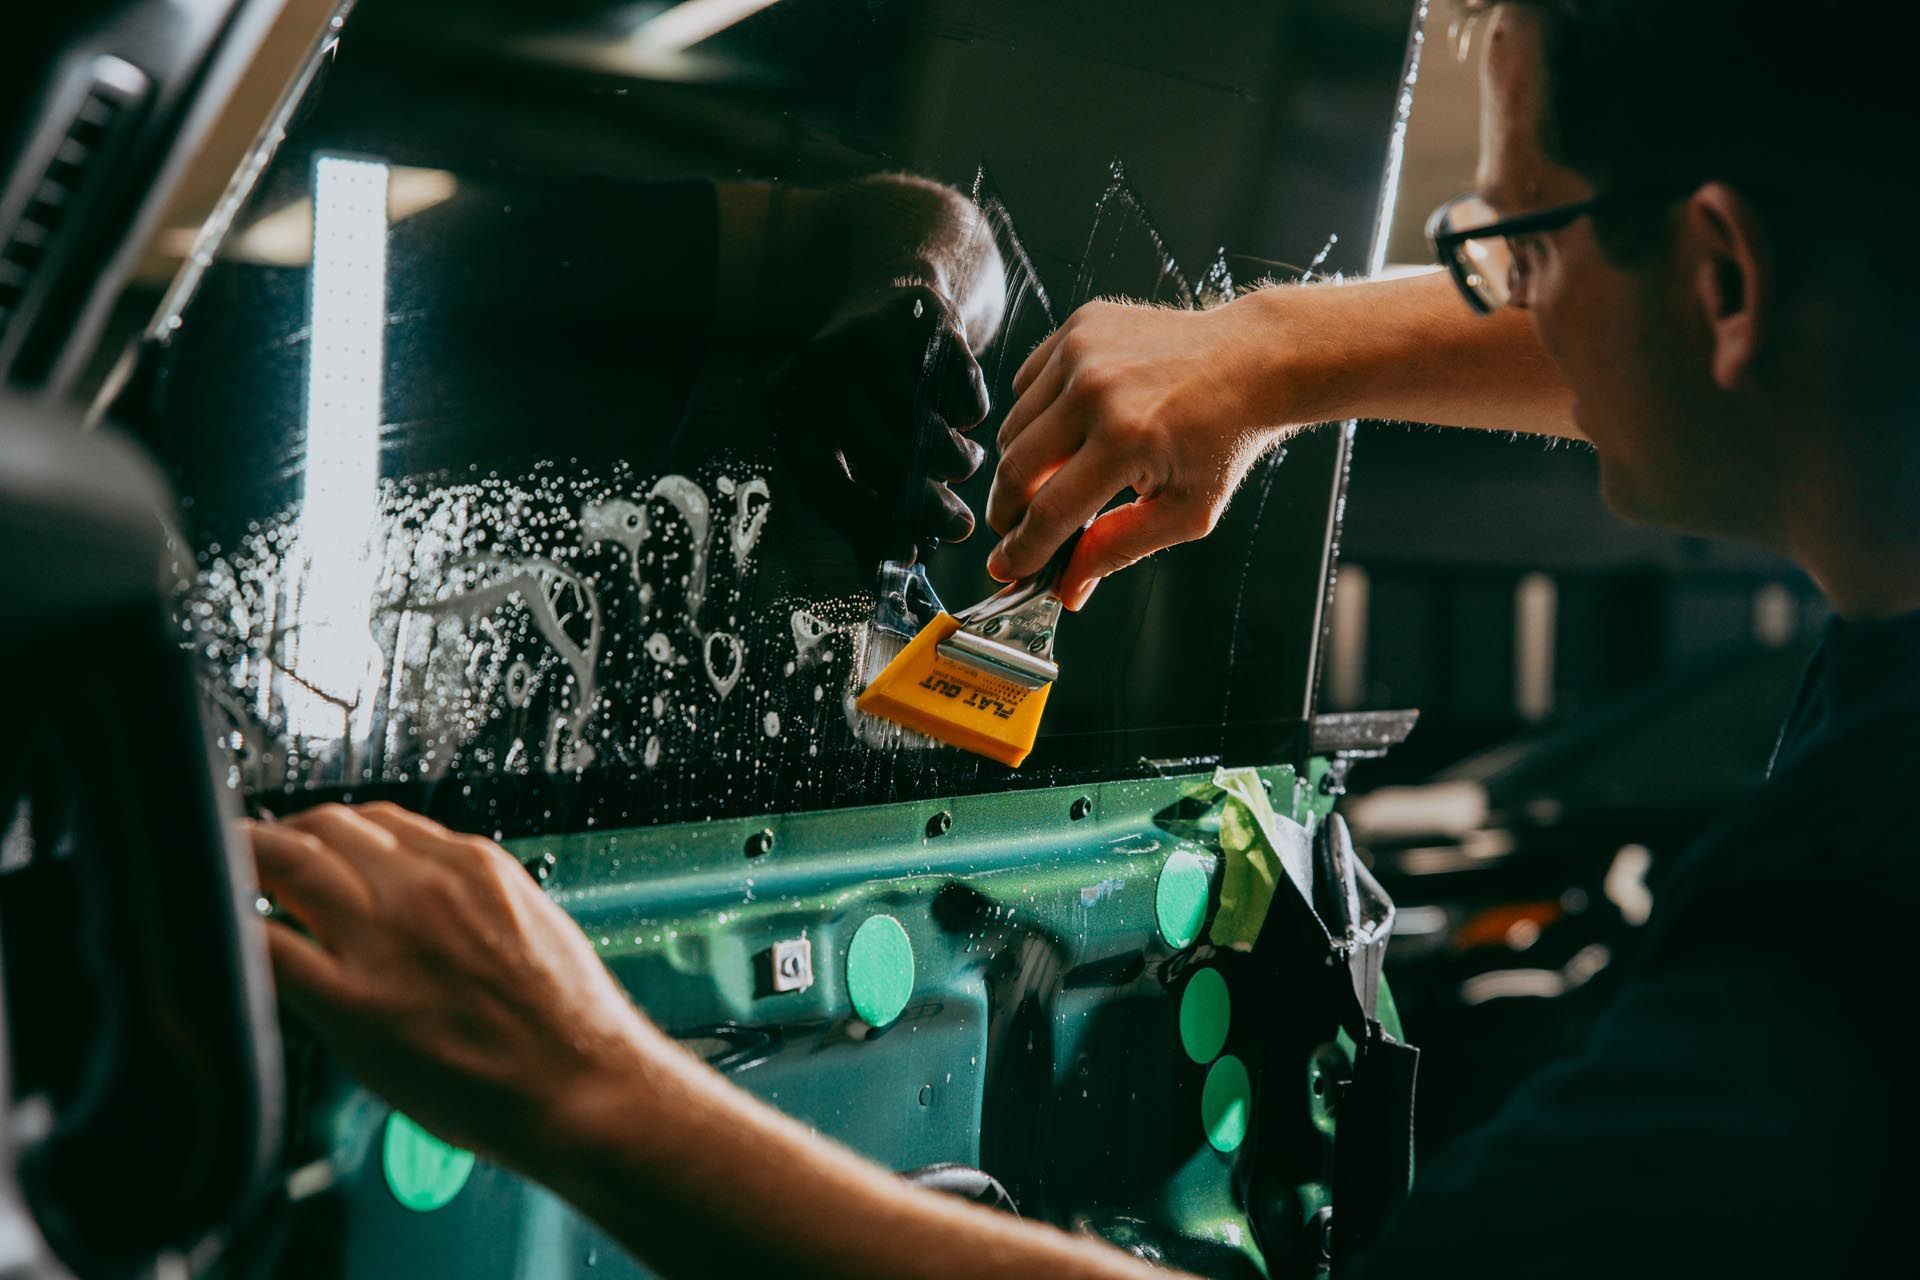
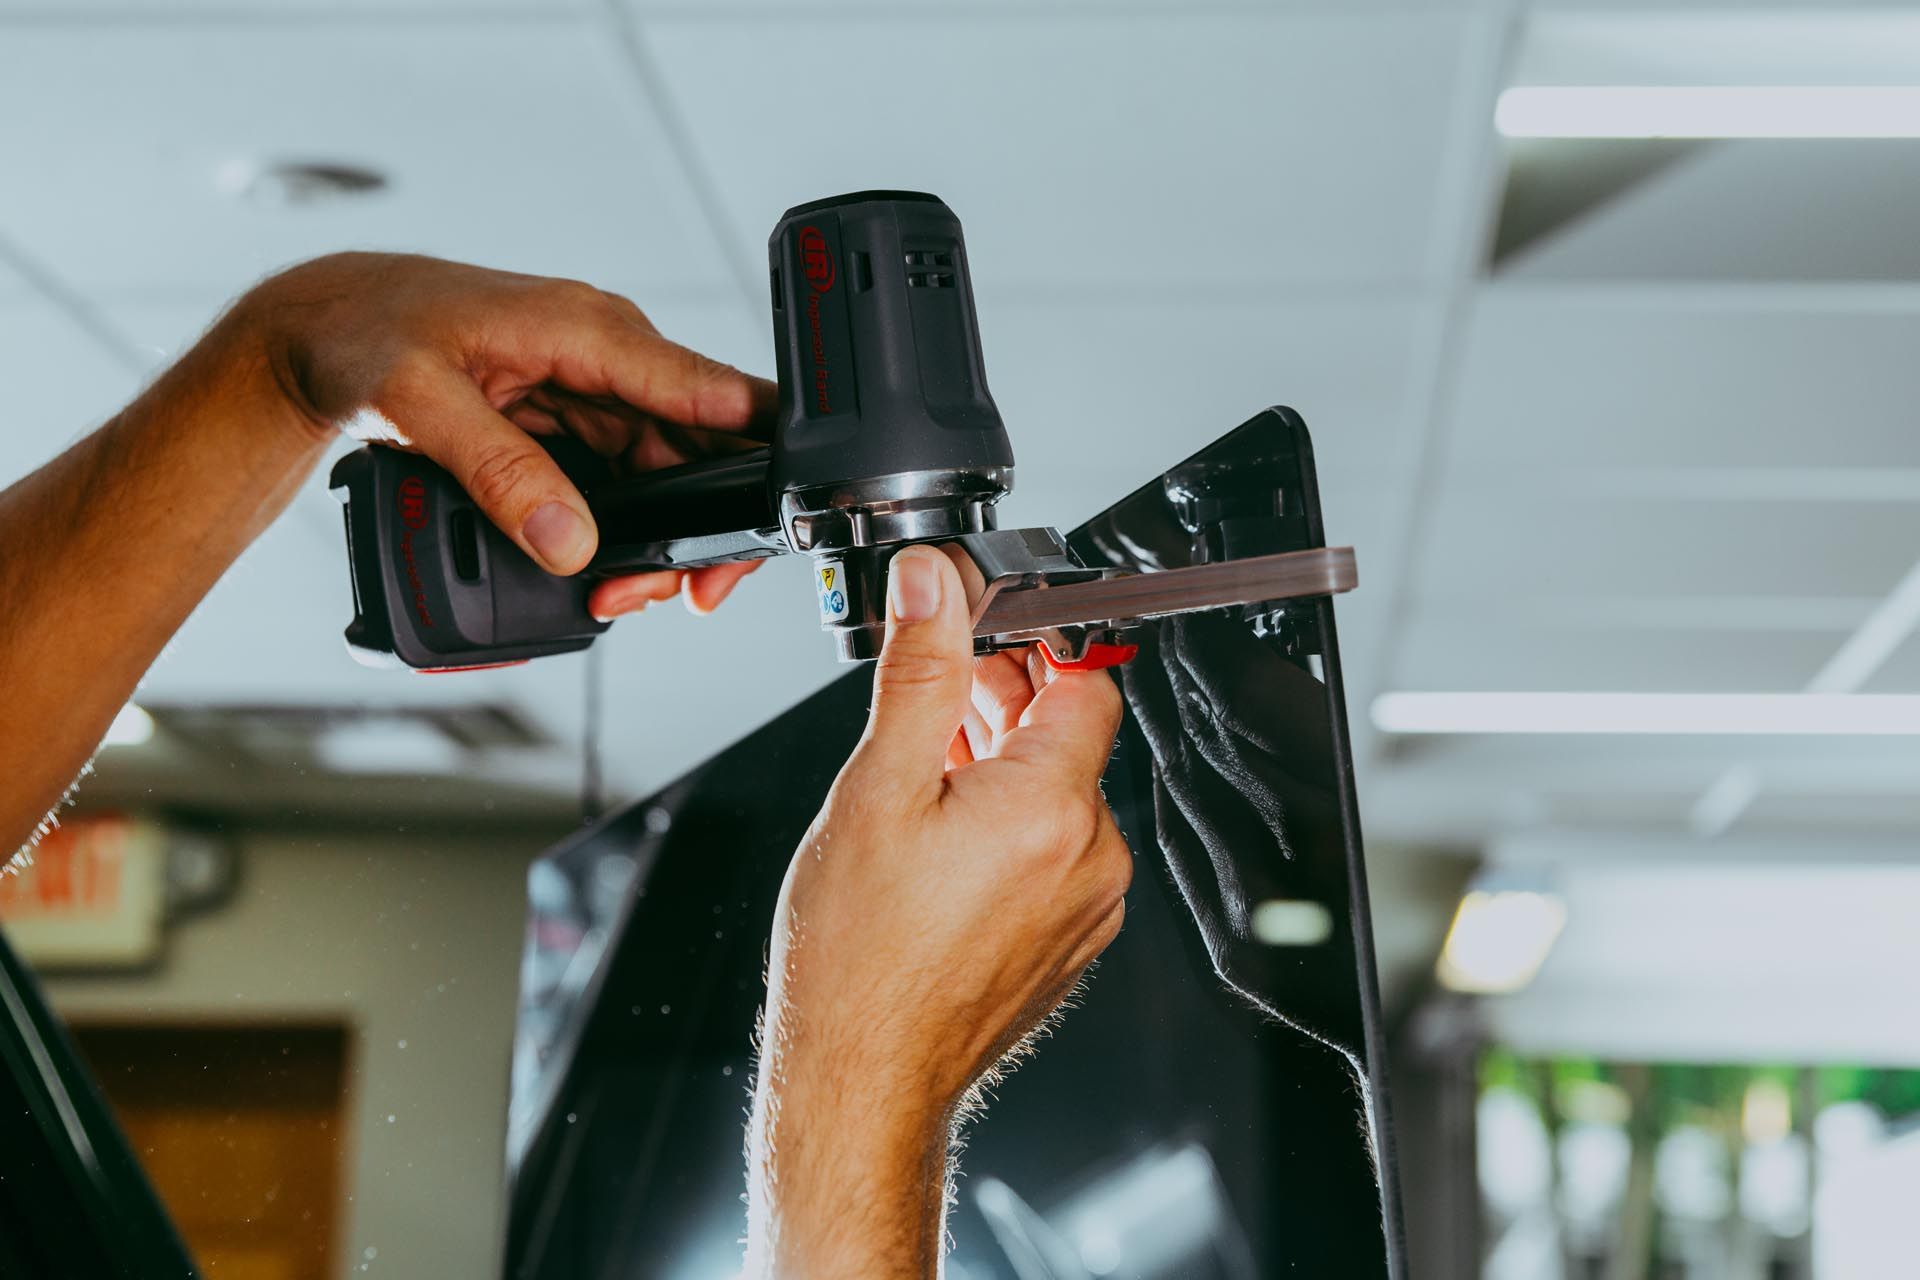
And beyond the rules, installation quality is what determines whether your tint looks crisp for years, or starts bubbling, peeling, or looking hazy.
5. Which Tint Works Best For You?
Use this if you want the shortest path to the right decision.
If you want maximum privacy
- Rear windows: 5% or 15%
- Front windows: consider staying lighter for usability (many drivers choose 35–50% up front)
If you want the best daily-driver balance
- 35% is the most common “no regrets” option
- Pair with performance film if heat is your biggest problem
If you drive at night a lot
- 50% or 35%
- Keep side-window visibility comfortable, especially for lane changes and reversing
If your #1 goal is heat rejection (not darkness)
- Choose better film, then pick the tint level that keeps visibility comfortable
- You can often get a huge comfort upgrade without going extremely dark (especially helpful in California front-window situations)
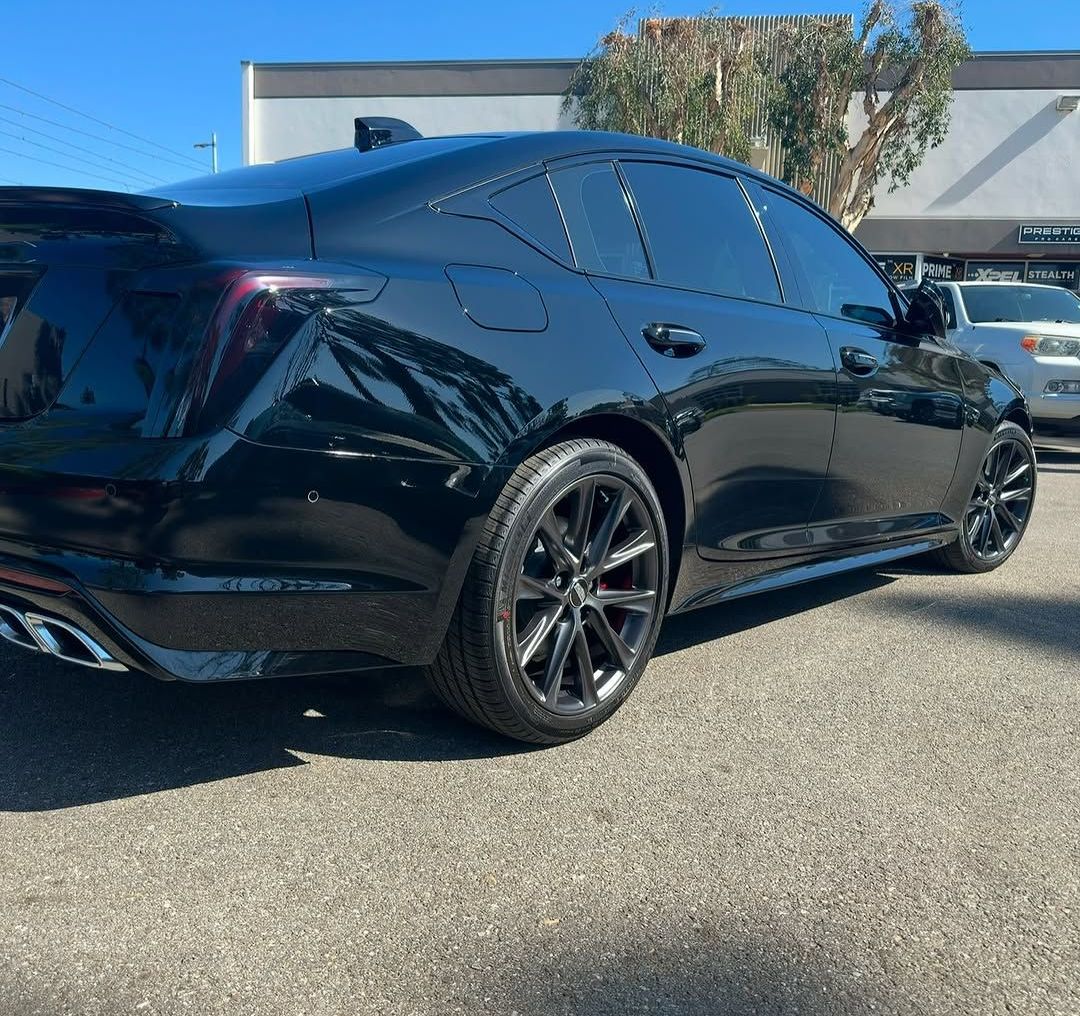
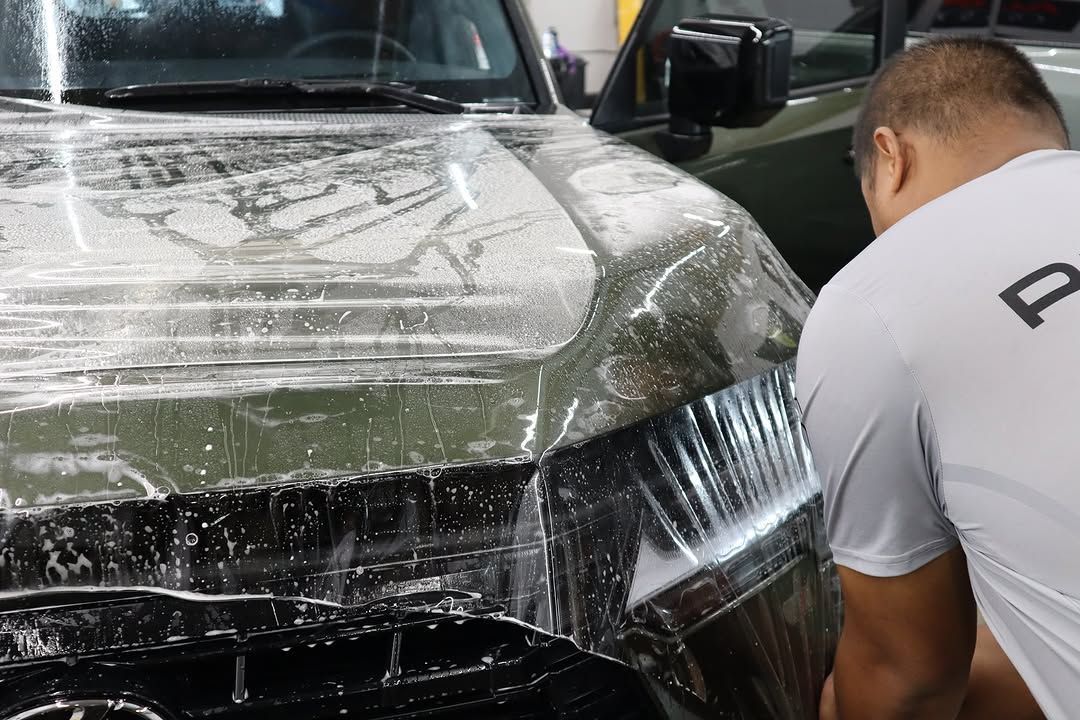
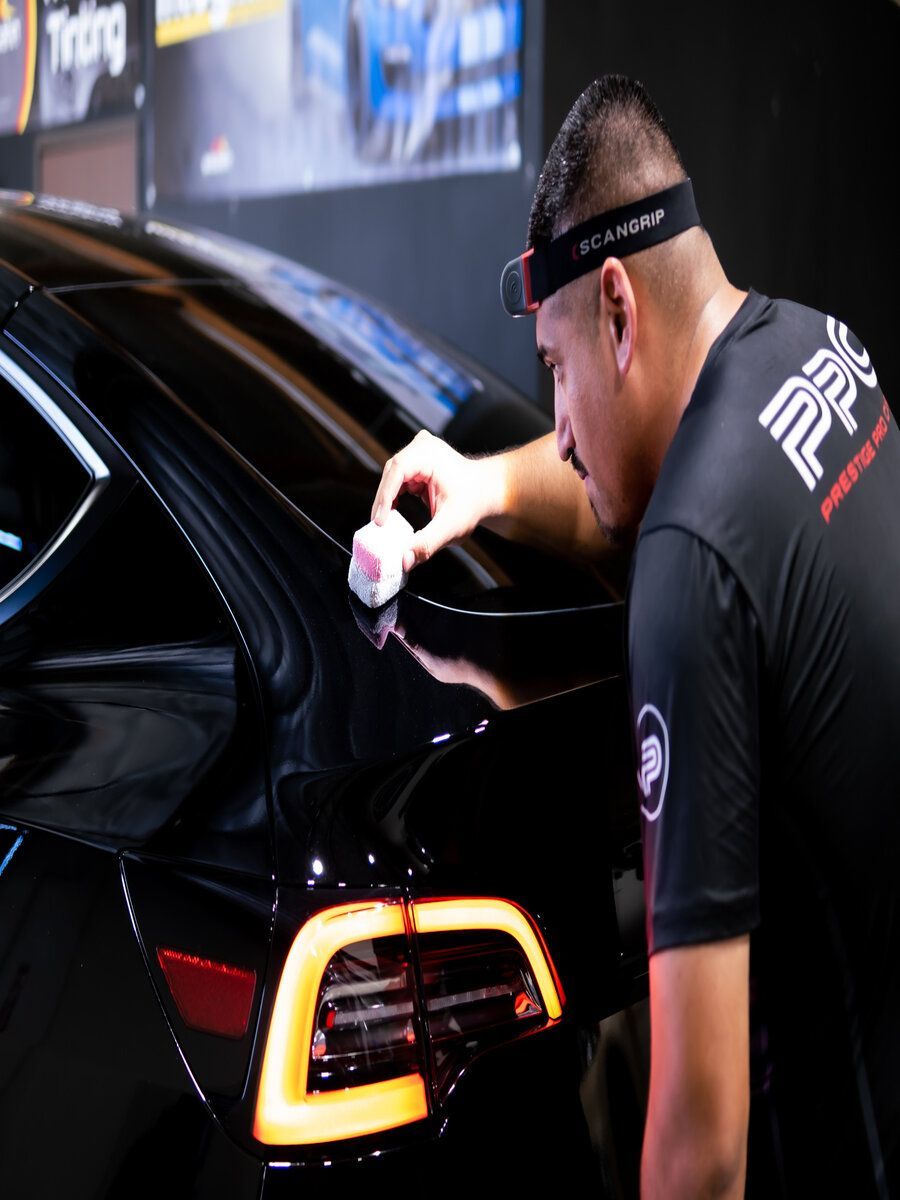
6. Prestige Pro Care Packages (Natural Fit for San Dimas Drivers)
Prestige Pro Care’s
window tint
packages are a natural fit for San Dimas drivers because they focus on what actually delivers results, not just going darker. A lot of people assume the darkest tint is automatically the best solution, but the smarter approach is to choose the right film performance first, then pick the tint level that matches your visibility, privacy, and comfort goals. At Prestige Pro Care, Prime XR is positioned as the ideal starting point for drivers who want a strong mix of privacy, heat control, and a clean, finished look. Most drivers build their package in a few popular ways, including Front 2 Window Match for a consistent appearance up front, a Full Windshield option when appropriate and within legal placement limits (typically focusing on the top strip area), and a Cabin Surround package for a uniform look and comfort throughout the entire vehicle.
Conclusion
In San Dimas, choosing the right window tint level is about finding the best balance between comfort, visibility, privacy, and compliance, not just picking the darkest shade. The most popular window tint levels for cars (5%, 15%, 20%, 35%, and 50%) each serve a different type of driver, which is why the “best” option depends on how you drive, when you drive, and what you want your vehicle to feel like every day. If you want a reliable daily-driver setup, many San Dimas drivers lean toward a balanced tint like 35% for strong style and better night visibility, while keeping the rear darker for privacy. And if your main goal is beating the heat, the biggest upgrade often comes from selecting a high-performance film first, then choosing the tint percentage that fits your lifestyle. With options like Prime XR as a starting point and upgrades available for drivers who want maximum heat rejection.
Prestige Pro
Care makes it easy to choose a tint package that looks clean, feels comfortable, and fits the way you actually use your vehicle.